
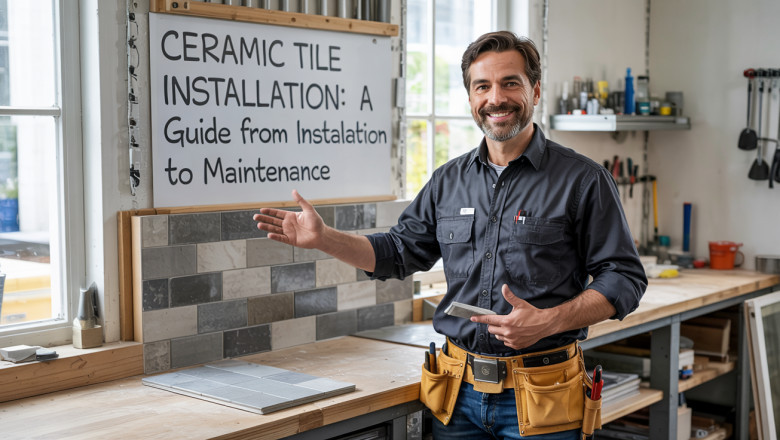
Ceramic tiles are one of the most versatile and durable flooring solutions for modern homes. From kitchens and bathrooms to hallways and backsplashes, ceramic tiles offer both aesthetic appeal and functional benefits. Whether you’re a DIY enthusiast or a homeowner considering a professional installation, understanding the process of ceramic tile installation can save you time, money, and stress.
Why Choose Ceramic Tile?
Ceramic tiles are known for their resilience. They’re highly resistant to moisture, scratches, and stains, making them ideal for high-traffic and wet areas. They also come in a variety of finishes, colors, and patterns, allowing homeowners to get creative with their interior designs.
Aside from their durability and aesthetic flexibility, ceramic tiles are low-maintenance. With proper installation and occasional cleaning, ceramic flooring can last for decades, adding value to your home.
Step-by-Step Ceramic Tile Installation Guide
1. Plan and Prepare Your Surface
Before laying tiles, ensure the surface is clean, dry, and level. Whether you’re working on a floor or wall, remove any debris, dust, or old adhesives. Use a leveling compound if necessary to smooth out uneven areas. Proper preparation is key to achieving long-lasting results.
2. Gather Your Tools and Materials
Here’s what you’ll need:
- Ceramic tiles
- Tile adhesive or mortar
- Notched trowel
- Tile spacers
- Tile cutter or wet saw
- Level
- Rubber mallet
- Grout and sponge
- Sealer (if required)
Make sure you measure the area carefully and purchase around 10% more tile than needed to account for waste and cuts.
3. Dry Fit the Tiles
Before applying adhesive, lay out the tiles without mortar to determine the best layout. This helps avoid awkward cuts and ensures a symmetrical finish. Use spacers to plan for grout lines.
4. Apply Tile Adhesive
Using your notched trowel, spread tile adhesive over a small section of the surface. Press each tile into the adhesive using a slight twisting motion to ensure a good bond. Insert spacers between each tile to keep the spacing uniform.
5. Cut Tiles to Fit
Use a tile cutter or wet saw to trim edge pieces or tiles that must fit around obstacles. Always wear protective gear when cutting tiles.
6. Let It Set
Allow the adhesive to cure for at least 24 hours before grouting. Do not walk on the tiles during this time.
7. Apply Grout
Once the tiles are firmly set, remove spacers and apply grout using a rubber float. Work it into the joints at a 45-degree angle. Wipe off excess grout with a damp sponge before it dries on the tile surface.
8. Final Cleaning and Sealing
After the grout has dried, typically within 24 to 48 hours, clean the tiles again to remove haze. Apply a grout sealer if recommended for added moisture protection.
Common Mistakes to Avoid
Poor Surface Preparation: Skipping this step leads to uneven tiles and poor adhesion.
Incorrect Adhesive Use: Always use the right mortar for ceramic tiles, especially for wet areas.
Improper Spacing: Uneven grout lines can ruin the look of your tile job. Use spacers for consistency.
Grouting Too Soon: Let the adhesive fully cure before grouting, or you risk loosening the tiles.
Tips for Long-Term Maintenance
Ceramic tiles require minimal upkeep but do benefit from regular care.
- Sweep or vacuum frequently to remove dust and grit that can scratch the surface.
- Mop with warm water and a mild detergent. Avoid acidic or abrasive cleaners.
- Seal grout lines annually to prevent moisture and stains.
- Repair chips or cracks as soon as possible to prevent further damage.
With proper maintenance, your ceramic tile floor or wall will remain stunning for years.
Where Ceramic Tiles Work Best
Bathrooms: Water resistance and easy cleaning make ceramic tile perfect for walls and floors.
Kitchens: Ceramic is ideal for countertops, backsplashes, and floors thanks to its stain resistance.
Entryways and Hallways: Durable enough for heavy foot traffic, and easy to clean.
Laundry Rooms: Their moisture-resistant properties make ceramic tiles a smart choice for utility areas.
Final Thoughts
Ceramic tile installation is a worthwhile investment for any home. Whether you’re remodeling a bathroom or upgrading a kitchen backsplash, these tiles bring both style and strength. With the right tools, a bit of planning, and a clear understanding of the steps involved, even DIYers can achieve professional-looking results.
For more inspiration and high-quality tile products, visit Fleurimont Plancher, your go-to source for flooring solutions in Sherbrooke and beyond.


Comments
0 comment